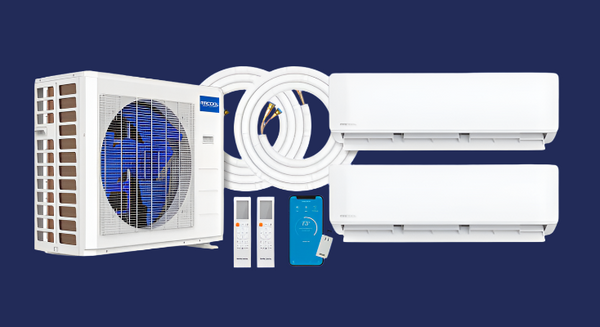
MRCOOL DIY Direct — Mini Split Installation (Step-by-Step)
1 Operation: Mounting Plate Installation
What to do
Mark studs, level the mounting plate, and fasten with proper anchors/lag screws. Verify clearances per MRCOOL spec.
Pro tip: pre-drill to avoid drywall blowout.
2 Wall Hole
What to do
Drill the penetration with a slight downward pitch toward the exterior. Install sleeve if provided to protect the line set and drain.
Always check for hidden utilities before drilling.
3 Prepare Line Set
What to do
Align the pre-charged Quick Connect® lines. Tape the drain and control cable neatly to feed through the wall.
Avoid tight bends that could restrict refrigerant flow.
4 Mount the Indoor Unit
What to do
Guide the bundled lines through the wall, hook the unit on the plate, lock it in place, and confirm level.
Protect lines with a soft cloth while positioning the unit.
5 Install USB Dongle
What to do
Insert the SmartHVAC™ USB Wi-Fi dongle and pair via the app (2.4 GHz). Follow prompts to connect and name your unit.
Keep your phone near the unit during pairing.
6 Outdoor Unit Placement
What to do
Place the condenser on a level pad or wall bracket, use vibration pads, and maintain MRCOOL airflow clearances. Route lines neatly.
Keep coil area clear for optimal performance.
7 Quick Connect® Refrigerant Lines
What to do
Attach the pre-charged fittings per procedure. Hand-tighten, then torque to spec. Open valves fully and check for leaks.
Use soapy water where applicable.
8 Operation Test
What to do
Power on and test heating/cooling. Confirm temperature change, airflow, and condensate drainage. Verify there are no error codes.
Follow all local codes and your user manual.
-

Energy Tips: Overlooked HVAC Upgrades That Actu...
Most HVAC energy advice focuses on filters and thermostats, but the biggest efficiency losses often come from issues homeowners never hear about. Learn which overlooked HVAC upgrades quietly impact comfort,...
Energy Tips: Overlooked HVAC Upgrades That Actu...
Most HVAC energy advice focuses on filters and thermostats, but the biggest efficiency losses often come from issues homeowners never hear about. Learn which overlooked HVAC upgrades quietly impact comfort,...
-
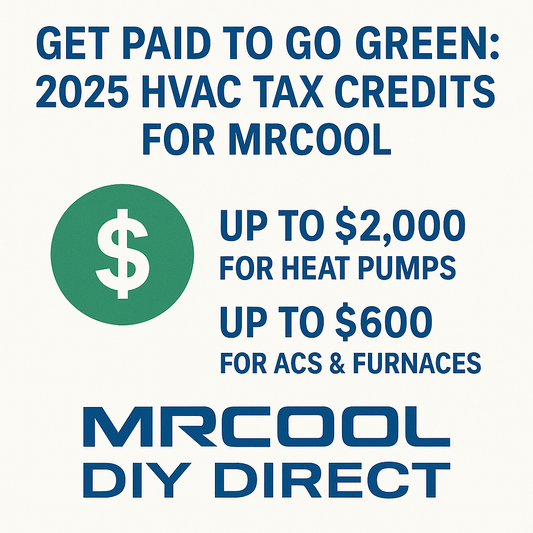
Get Paid to Go Green: 2025 HVAC Tax Credits for...
Learn how to claim 30% federal tax credits—up to $2,000 for heat pumps and $600 for ACs & furnaces—on qualifying MRCOOL systems. Steps, eligibility, FAQs.
Get Paid to Go Green: 2025 HVAC Tax Credits for...
Learn how to claim 30% federal tax credits—up to $2,000 for heat pumps and $600 for ACs & furnaces—on qualifying MRCOOL systems. Steps, eligibility, FAQs.
-

How to Clean Your MRCOOL Mini Split with the MR...
Cleaning your mini split doesn’t have to be hard. With the MRCOOL Care Kit, you can restore peak performance in minutes — regardless of brand. This step-by-step guide walks you...
How to Clean Your MRCOOL Mini Split with the MR...
Cleaning your mini split doesn’t have to be hard. With the MRCOOL Care Kit, you can restore peak performance in minutes — regardless of brand. This step-by-step guide walks you...


